

Screws come in a massive range of sizes to suit diverse project requirements. Using the wrong size can lead to material damage and weak or insecure connections.
Measuring screw sizes accurately is a crucial skill for builders, mechanics and other professionals. It impacts structural integrity, resource allocation, time management and professional reputation.
Diameter
Screws come in a wide range of sizes to accommodate any fastening requirement. However, selecting the right size for an application is essential to ensure a safe and secure hold. To help avoid any costly mistakes it’s important to understand three main measurements: diameter, length and thread count.
The diameter of a screw is measured along the crest or peak of the threads. This is also known as the major diameter. It is the largest dimension of the thread and usually corresponds to the first number of the screw gauge. For imperial screws, this measurement is given in inches. For metric screws it is usually given in millimetres preceded by the letter M, for example, an M6 screw has a diameter of 6 mm.
If the screw is measuring in the imperial system it will normally be listed with the gauge first and then its length, for example, a Duraspin #8 x 1-1/4″ screw would have a major diameter of 0.17″ and a thread count of 8 TPI. The metric system typically lists the major diameter and the thread count together, for example, an M6 x 1 mm screw has a major diameter of 6 mm and a thread pitch of 1 mm.
Length
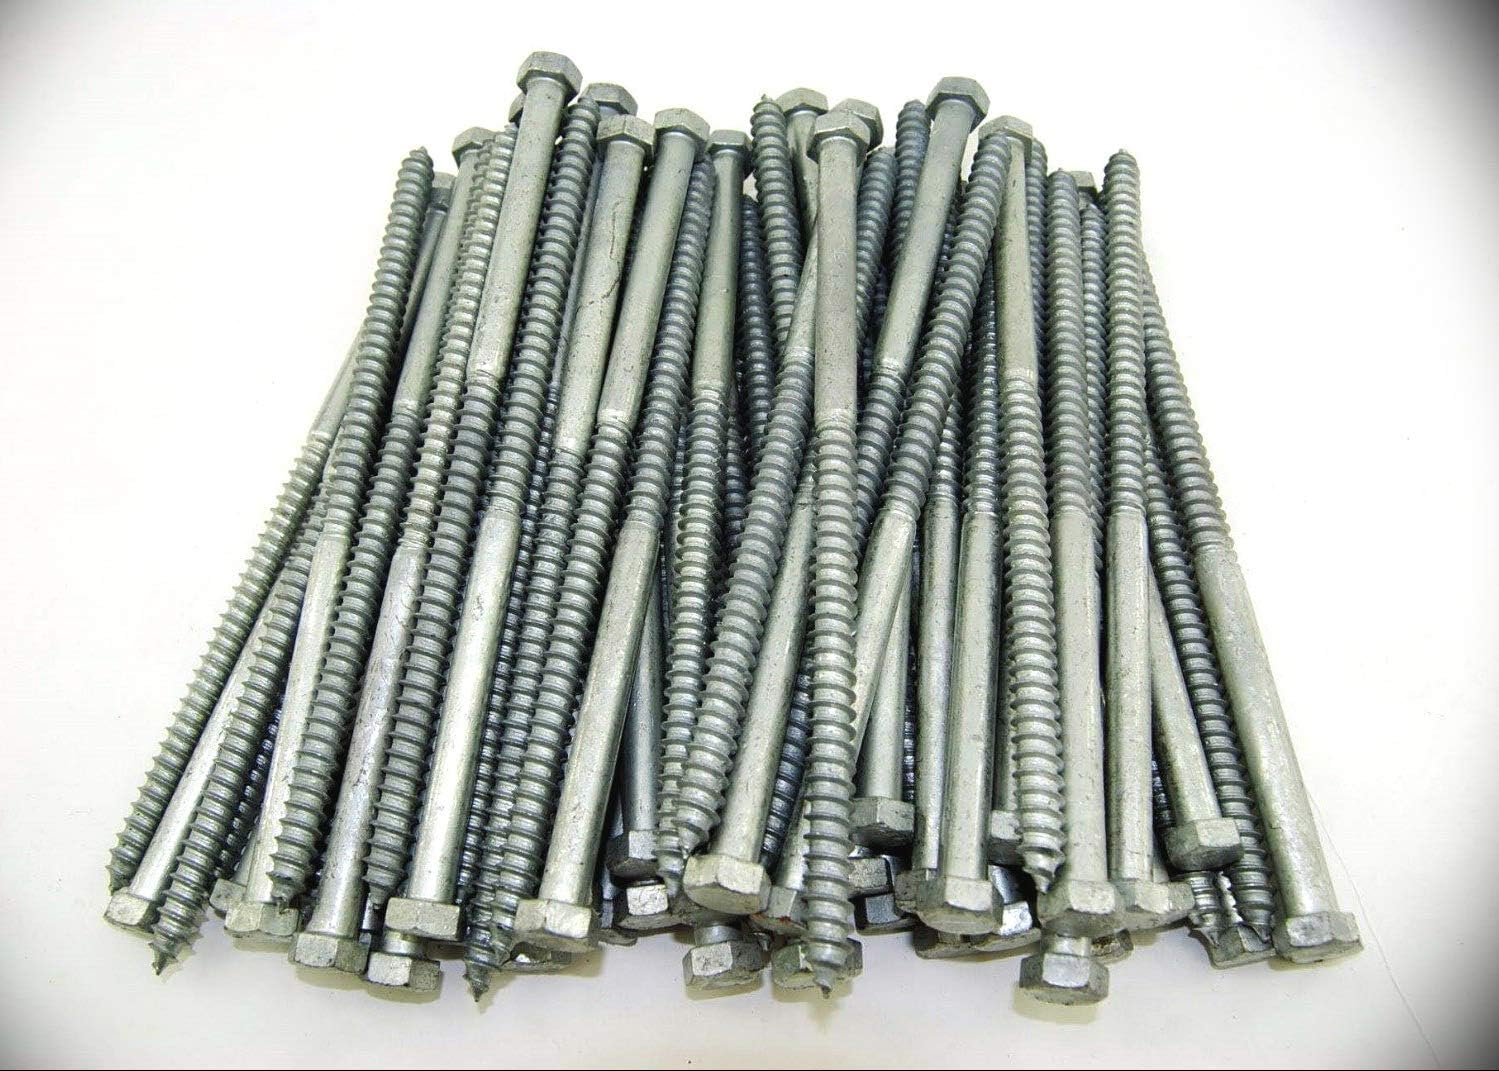
A screw’s length is the distance from its flat part (or, in case of a flat head, blunt tip) to the end of its shaft. Longer screws are generally used for thicker materials, but it’s important to choose a fastener with a length that will reach to the bottom of your material’s thickness to ensure a good, firm hold.
The length of a screw may also be listed in metric terms, such as “5 x 40mm,” while imperial screws are usually presented with their gauge and length in a combination format: “#8 x 1-1/4” (see the chart below).
Many screw sizes follow different threading systems, though the ISO metric preferred series has largely replaced older designs. Some of the most common include the Whitworth and BA system, which use a stepped diameter and pitch to differentiate between sizes. For the purposes of this guide, we will only be discussing screws with an ISO metric diameter and pitch.
Thread Count
The number of thread crests on one inch of a screw or bolt is the thread count, also known as TPI (Threads Per Inch). Standardized thread standards exist to promote interchangeability among hardware parts made by different manufacturers and to facilitate compatibility with standardized wrenches.
Industry standards assign major diameters and pitches to all recognized thread sizes. These dimensions are indicated in the standardized designations for standard threads, such as the UTS series for Coarse National Coarse and Fine (UNF) threads.
Metric screw threads are slowly displacing all other inch-based standards, including the UTS. However, UTS threads still remain widely used in the United States. Some companies still label their hardware with the USS and SAE series, which are often confused with metric screw threads. While these designations do not imply a difference in quality, they do indicate the preference of some users for hardware that uses inch-sized threads. This preference is sometimes reflected in a catalog’s description of the fastener, such as the use of a short letter code before the standardized designation for the thread.
Head Size
The length of a screw is measured from the flat bottom of the head (for pan head screws) or from the top of the head to the screw tip (for oval heads). It’s typically the third number listed in sizing charts and follows an “x” or multiplication symbol. For example, a #6-32 screw has a diameter of 1/4″, threads per inch of 32 and is an inch and a half long.
Measuring the head size of a screw is fairly simple and only requires a measuring tape or ruler. Start by measuring from the tip of the screw to where the head would rest flush with the surface once it’s been driven in. Then, compare your measurement to a screw sizing chart to find the correct head size for your project. If you have existing screws that need replacement, make sure to measure them as well, as they may be slightly different. This is important for consistency in your work and to ensure that you have the right driver type on hand.pilot hole for 5/16 lag screw